> ## Documentation Index
> Fetch the complete documentation index at: https://www.thundercompute.com/docs/llms.txt
> Use this file to discover all available pages before exploring further.
# Connecting to Instances
> Connect to Thunder Compute instances using the CLI. Establish secure remote connections and manage terminal sessions for cloud GPU development.
export const QuickstartCard = ({ title, icon, href, children, selected }) => {
const enter = e => { if (selected) return; const el = e.currentTarget; el.style.borderColor = '#555'; el.querySelector('[data-title]').style.color = '#fff'; el.querySelector('[data-sub]').style.opacity = '0.7'; el.querySelector('[data-icon]').style.opacity = '0.7'; };
const leave = e => { if (selected) return; const el = e.currentTarget; el.style.borderColor = '#333'; el.querySelector('[data-title]').style.color = ''; el.querySelector('[data-sub]').style.opacity = '0.5'; el.querySelector('[data-icon]').style.opacity = '0.35'; };
return (
);
};
Editor extension
Command line
Web interface
## Before You Connect
Make sure you have:
* Signed in with `tnr login`
* Created an instance
* Waited for the instance status to show `RUNNING`
Check your instances from the terminal:
```bash theme={null}
tnr status --no-wait
```
Use the `ID` column from that table when you connect. For your first running instance, the ID is usually `0`.
## Connect to an Instance
### Direct Connection
If you know the instance ID, pass it to `tnr connect`:
```bash theme={null}
tnr connect 0
```
Replace `0` with the ID from `tnr status`.
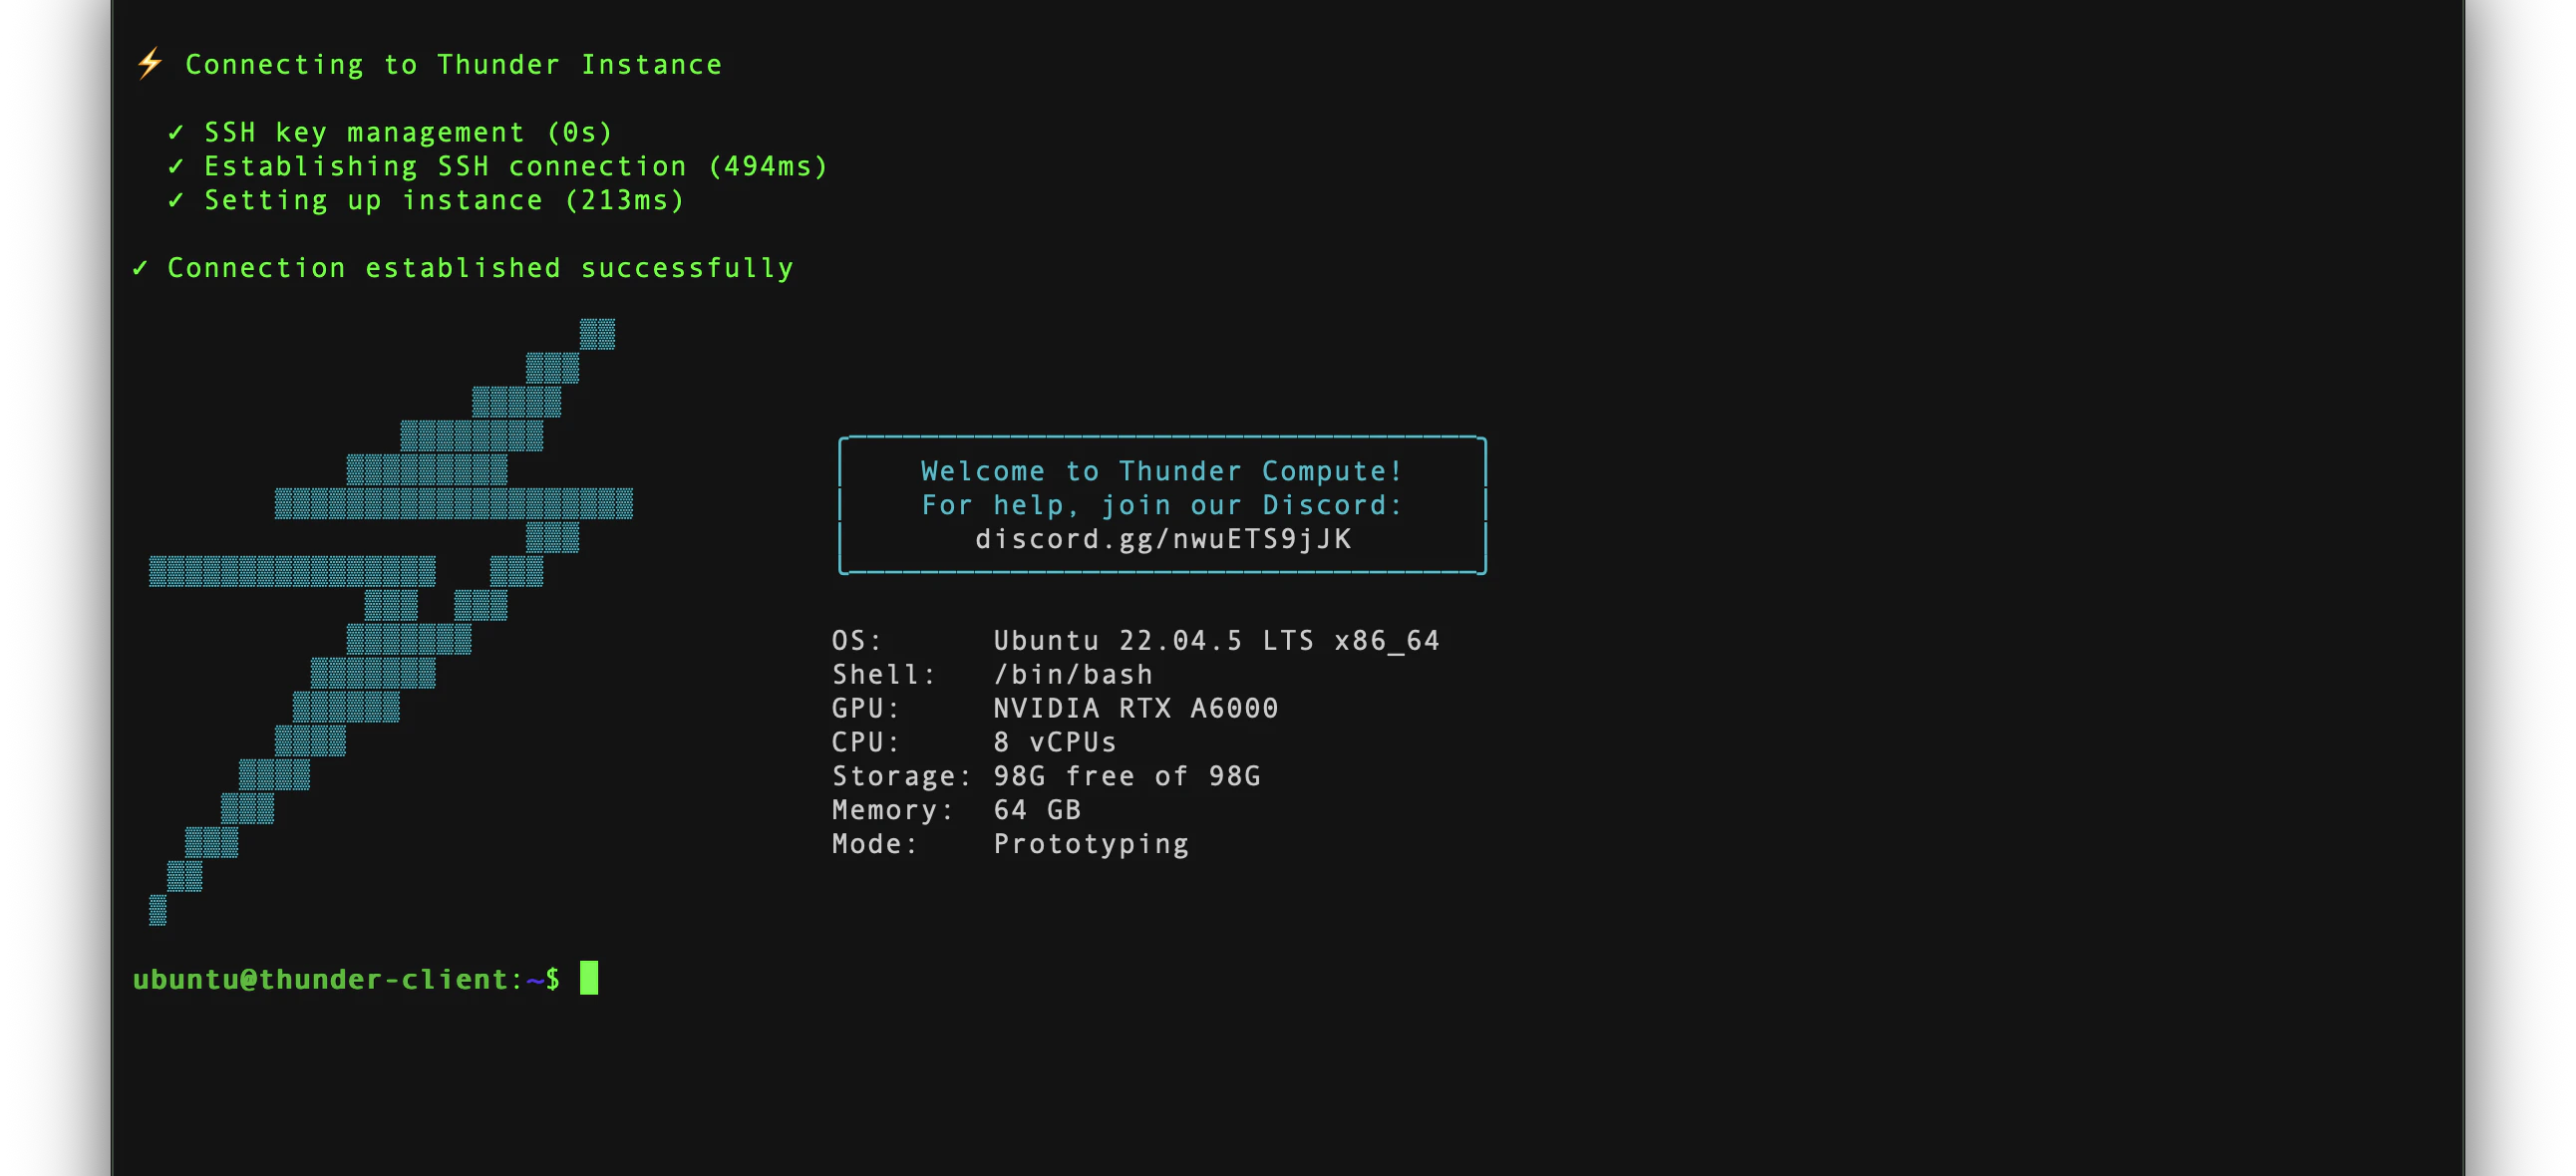
The CLI will set up SSH access, open the connection, and drop you into a shell on the instance. When the connection is ready, you will see a prompt like `ubuntu@thunder-client:~$`.
 ### Interactive Connection
If you are not sure which instance to use, run:
```bash theme={null}
tnr connect
```
Select the running instance from the menu.
## End the Session
When you are done, type `exit` in the remote shell to close the SSH session.
If no instance appears, run `tnr status --no-wait` and confirm the instance is `RUNNING`. If you are signed out, run `tnr login` and try again.
## Exposing Services
To expose web servers, Jupyter notebooks, or other services running on your instance, use a [Cloudflare Tunnel](/docs/technical-specs#port-access).
## Using Standard SSH
If you prefer using your own SSH client, Thunder Compute is compatible with standard SSH tools. The CLI configures your `~/.ssh/config` automatically when you first connect.
Need to attach your own keys or copy an IP for manual access? Use the [console SSH workflow](/docs/console/operations/ssh).
### Interactive Connection
If you are not sure which instance to use, run:
```bash theme={null}
tnr connect
```
Select the running instance from the menu.
## End the Session
When you are done, type `exit` in the remote shell to close the SSH session.
If no instance appears, run `tnr status --no-wait` and confirm the instance is `RUNNING`. If you are signed out, run `tnr login` and try again.
## Exposing Services
To expose web servers, Jupyter notebooks, or other services running on your instance, use a [Cloudflare Tunnel](/docs/technical-specs#port-access).
## Using Standard SSH
If you prefer using your own SSH client, Thunder Compute is compatible with standard SSH tools. The CLI configures your `~/.ssh/config` automatically when you first connect.
Need to attach your own keys or copy an IP for manual access? Use the [console SSH workflow](/docs/console/operations/ssh).