> ## Documentation Index
> Fetch the complete documentation index at: https://www.thundercompute.com/docs/llms.txt
> Use this file to discover all available pages before exploring further.
# Run Unsloth Studio
> Launch Unsloth Studio on a Thunder Compute GPU instance and open it through a public HTTPS URL.
Unsloth Studio is a browser UI for running and training local models. This guide uses the official Linux installer on a Thunder Compute `base` instance, then exposes Studio through Thunder Compute port forwarding.
These commands were verified on a single A100 80 GB development instance. The same setup path is suitable for other GPU instances with enough disk space for the models and datasets you plan to use.
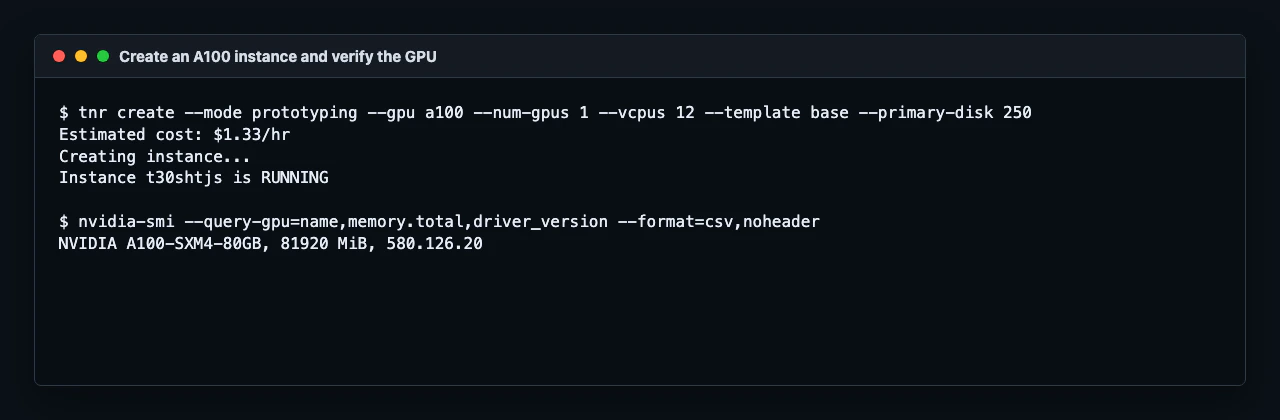
## Create the instance
Create a GPU instance with the `base` template and enough primary disk for Studio, models, and datasets:
```bash theme={null}
tnr create --mode development --gpu a100 --num-gpus 1 --vcpus 12 --template base --primary-disk 250
```
If A100 is unavailable, use the same shape with an available GPU:
```bash theme={null}
# RTX A6000
tnr create --mode development --gpu a6000 --num-gpus 1 --vcpus 6 --template base --primary-disk 250
# H100 80 GB
tnr create --mode development --gpu h100 --num-gpus 1 --vcpus 16 --template base --primary-disk 250
```
Connect to the instance:
```bash theme={null}
tnr status
tnr connect
```
Check that the GPU is visible:
```bash theme={null}
nvidia-smi --query-gpu=name,memory.total,driver_version --format=csv,noheader
```
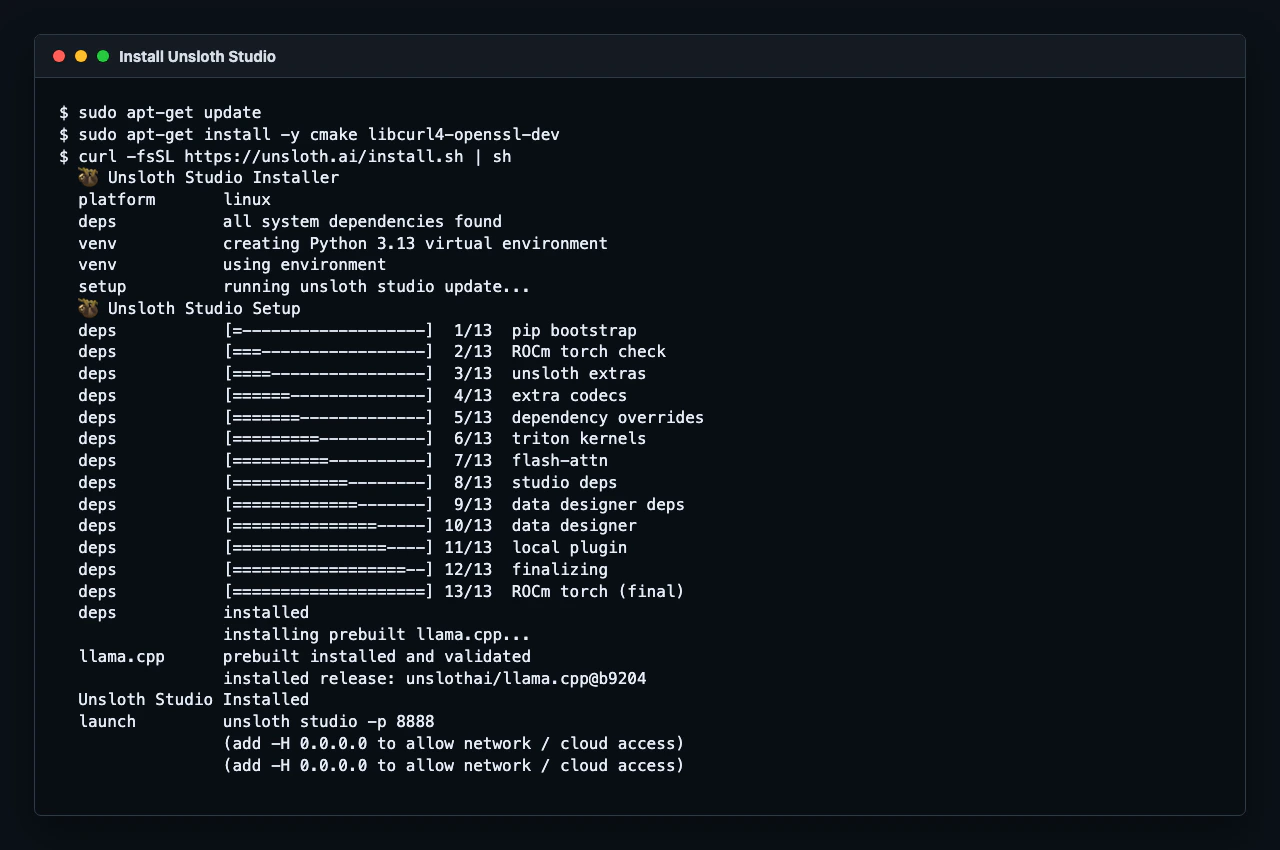
 ## Install Unsloth Studio
Install the system packages that Unsloth Studio needs to build and run its local inference components:
```bash theme={null}
sudo apt-get update
sudo apt-get install -y cmake libcurl4-openssl-dev
```
Run the official Unsloth Studio installer:
```bash theme={null}
curl -fsSL https://unsloth.ai/install.sh | sh
```
The installer creates a Python environment under `~/.unsloth/studio` and writes an `unsloth` launcher into `~/.local/bin`.
For the current SSH session, add the launcher directory to your path:
```bash theme={null}
export PATH="$HOME/.local/bin:$PATH"
```
## Install Unsloth Studio
Install the system packages that Unsloth Studio needs to build and run its local inference components:
```bash theme={null}
sudo apt-get update
sudo apt-get install -y cmake libcurl4-openssl-dev
```
Run the official Unsloth Studio installer:
```bash theme={null}
curl -fsSL https://unsloth.ai/install.sh | sh
```
The installer creates a Python environment under `~/.unsloth/studio` and writes an `unsloth` launcher into `~/.local/bin`.
For the current SSH session, add the launcher directory to your path:
```bash theme={null}
export PATH="$HOME/.local/bin:$PATH"
```
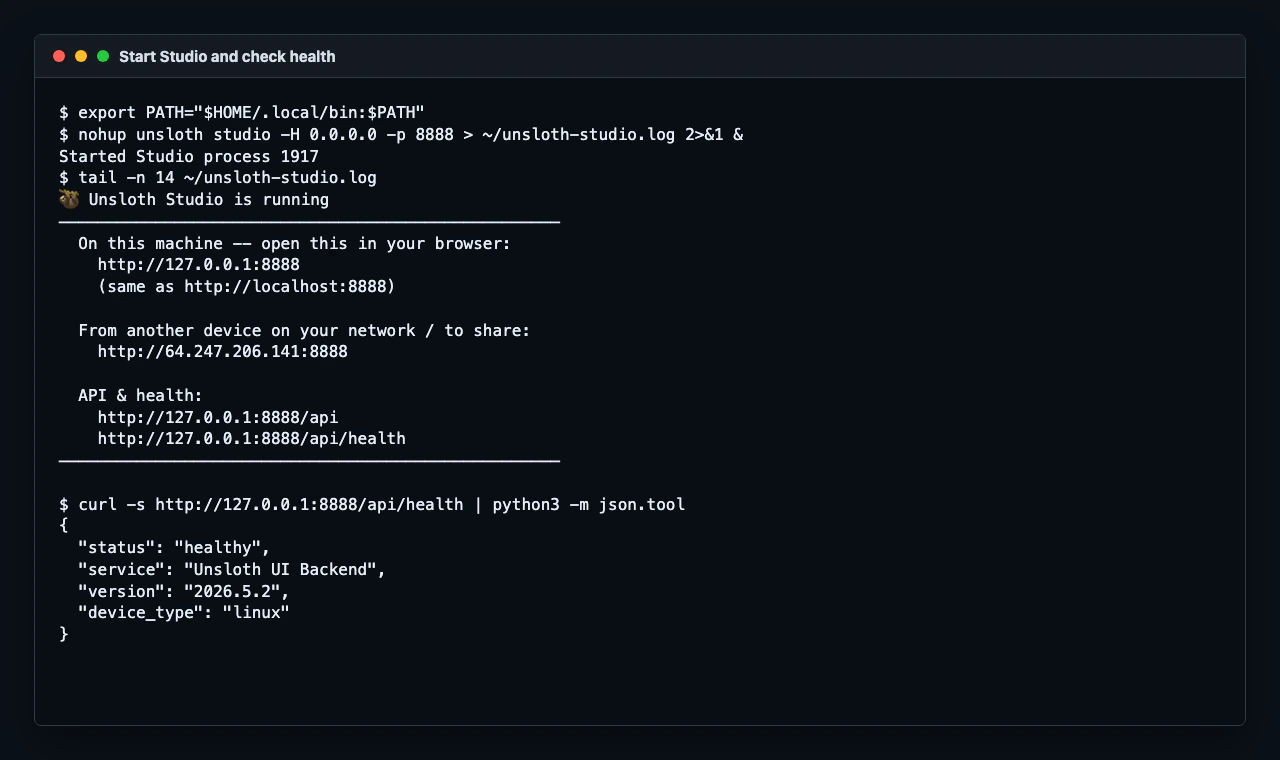
 ## Start Studio
Start Unsloth Studio on port `8888` and listen on all interfaces:
```bash theme={null}
nohup unsloth studio -H 0.0.0.0 -p 8888 > ~/unsloth-studio.log 2>&1 &
```
Check that Studio is running:
```bash theme={null}
tail -n 40 ~/unsloth-studio.log
curl -s http://127.0.0.1:8888/api/health | python3 -m json.tool
```
The health endpoint should return a JSON response with `"status":"healthy"`.
## Start Studio
Start Unsloth Studio on port `8888` and listen on all interfaces:
```bash theme={null}
nohup unsloth studio -H 0.0.0.0 -p 8888 > ~/unsloth-studio.log 2>&1 &
```
Check that Studio is running:
```bash theme={null}
tail -n 40 ~/unsloth-studio.log
curl -s http://127.0.0.1:8888/api/health | python3 -m json.tool
```
The health endpoint should return a JSON response with `"status":"healthy"`.
 `curl -I http://127.0.0.1:8888` may return `405 Method Not Allowed` because Studio does not accept `HEAD` requests on `/`. Use `curl http://127.0.0.1:8888` or `/api/health` instead.
## Get the admin password
On first launch, Studio creates a default admin user named `unsloth`.
Read the generated bootstrap password from the instance:
```bash theme={null}
cat ~/.unsloth/studio/auth/.bootstrap_password
```
Use this password the first time you open Studio, then change it in the UI.
## Open Studio in your browser
From a second terminal on your local machine, forward port `8888`:
```bash theme={null}
tnr ports forward --add 8888
```
Your Studio URL uses this format:
```text theme={null}
https://-8888.thundercompute.net
```
Open the URL in your browser and sign in with:
| Field | Value |
| -------- | ----------------------------------------------------------- |
| Username | `unsloth` |
| Password | The value from `~/.unsloth/studio/auth/.bootstrap_password` |
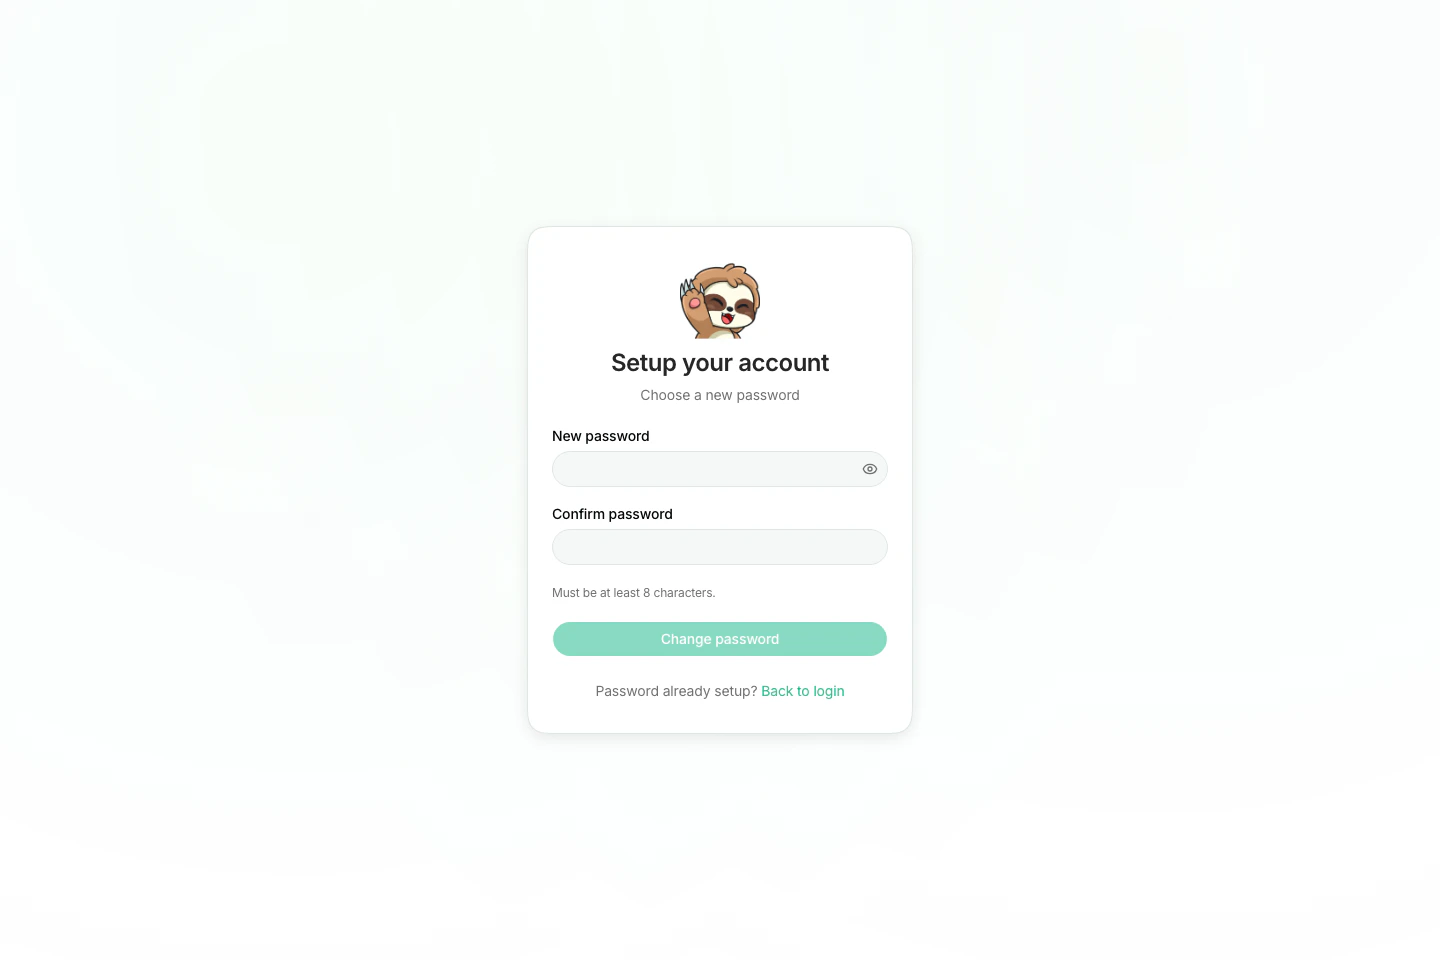
After the bootstrap login, Studio prompts you to choose a new password for future sessions.
`curl -I http://127.0.0.1:8888` may return `405 Method Not Allowed` because Studio does not accept `HEAD` requests on `/`. Use `curl http://127.0.0.1:8888` or `/api/health` instead.
## Get the admin password
On first launch, Studio creates a default admin user named `unsloth`.
Read the generated bootstrap password from the instance:
```bash theme={null}
cat ~/.unsloth/studio/auth/.bootstrap_password
```
Use this password the first time you open Studio, then change it in the UI.
## Open Studio in your browser
From a second terminal on your local machine, forward port `8888`:
```bash theme={null}
tnr ports forward --add 8888
```
Your Studio URL uses this format:
```text theme={null}
https://-8888.thundercompute.net
```
Open the URL in your browser and sign in with:
| Field | Value |
| -------- | ----------------------------------------------------------- |
| Username | `unsloth` |
| Password | The value from `~/.unsloth/studio/auth/.bootstrap_password` |
After the bootstrap login, Studio prompts you to choose a new password for future sessions.
 ## Stop Studio
Stop the Studio process when you are done using it:
```bash theme={null}
pkill -f "unsloth studio"
exit
```
Then delete the instance from your local terminal:
```bash theme={null}
tnr delete
```
Billing stops when the instance is deleted.
## Docker Note
Unsloth also publishes an official `unsloth/unsloth` Docker image. Thunder Compute supports Docker with the `--device nvidia.com/gpu=all` flag, but Docker support is experimental because the instance itself is already containerized.
Use the native installer above for the first Studio setup.
## References
* [Unsloth Studio installation](https://unsloth.ai/docs/get-started/install)
* [Unsloth Docker image](https://hub.docker.com/r/unsloth/unsloth)
* [Using Docker on Thunder Compute](/guides/using-docker-on-thundercompute)
## Stop Studio
Stop the Studio process when you are done using it:
```bash theme={null}
pkill -f "unsloth studio"
exit
```
Then delete the instance from your local terminal:
```bash theme={null}
tnr delete
```
Billing stops when the instance is deleted.
## Docker Note
Unsloth also publishes an official `unsloth/unsloth` Docker image. Thunder Compute supports Docker with the `--device nvidia.com/gpu=all` flag, but Docker support is experimental because the instance itself is already containerized.
Use the native installer above for the first Studio setup.
## References
* [Unsloth Studio installation](https://unsloth.ai/docs/get-started/install)
* [Unsloth Docker image](https://hub.docker.com/r/unsloth/unsloth)
* [Using Docker on Thunder Compute](/guides/using-docker-on-thundercompute)