Before You Connect

Make sure you have:
  • Installed the Thunder VS Code extension
  • Signed in to Thunder from the extension
  • Installed the Remote - SSH extension
  • Created an instance and waited for it to show RUNNING
If your instance does not appear, click the refresh button in the Thunder sidebar.

Connect to an Instance

  1. Open VS Code
  2. Click the Thunder lightning icon in the Activity Bar
  3. If prompted, click Login and complete the browser sign-in
  4. Under Instances, find the running instance
  5. Click the connect button on the instance row
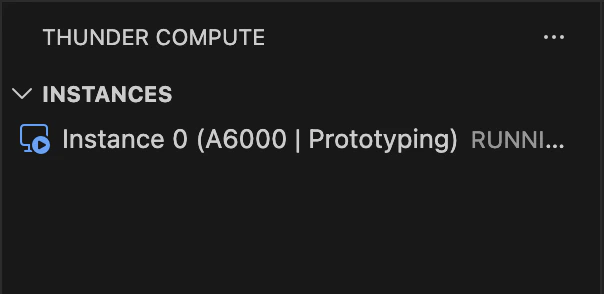
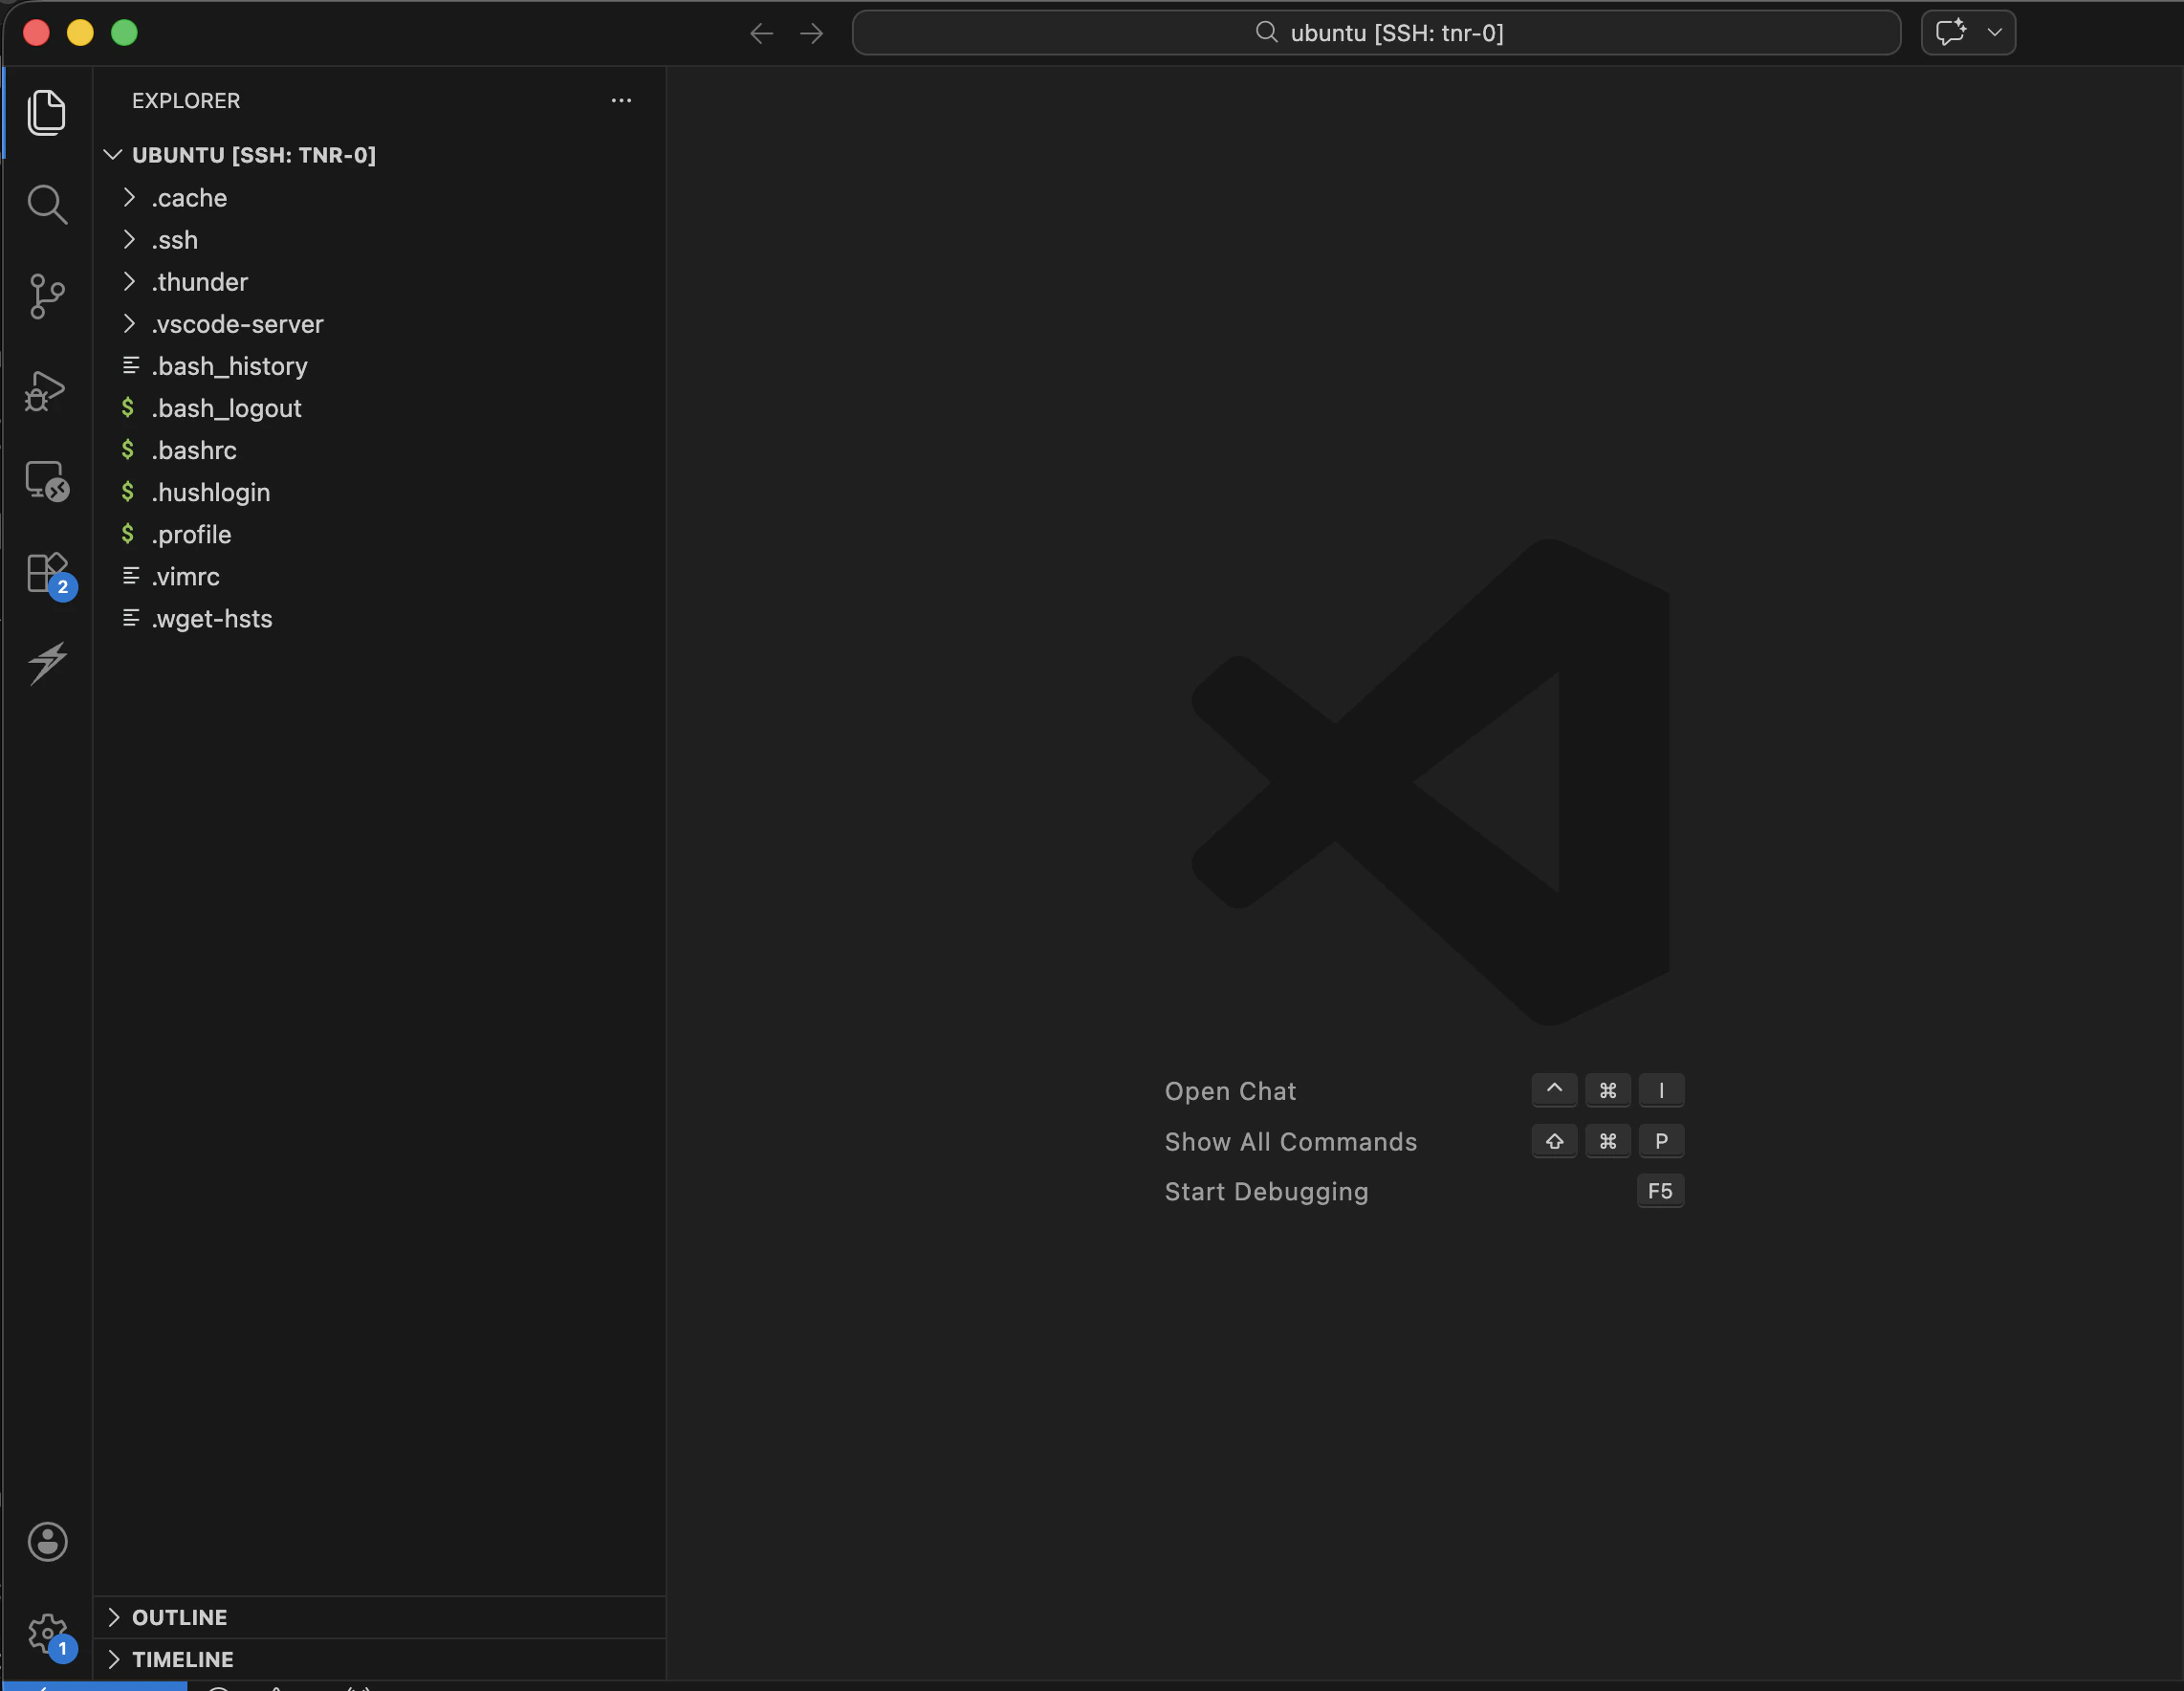
Thunder VS Code extension showing a running instance VS Code opens a new Remote SSH window for the instance. The lower-left status bar shows the active SSH target, such as SSH: tnr-0. VS Code connected to a Thunder instance over Remote SSH You can browse files, edit code, and open terminals in this window as if you were working locally. Commands run on the Thunder instance.
On your first connection, VS Code may ask whether you trust the remote folder. Choose Yes, I trust the authors only for folders you expect to work in.

Exposing Services

To expose web servers, Jupyter notebooks, or other services running on your instance, use a Cloudflare Tunnel.

Using Standard SSH

If you prefer using your own SSH client, Thunder is compatible with standard SSH tools. Need to manage saved keys or copy a raw SSH command? Use the console SSH workflow.